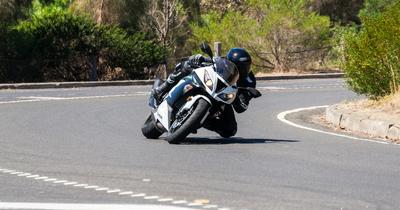

Downshifting a Motorcycle (Step-by-Step Process)
The following is a proper breakdown of the process of smoothly downshifting a motorcycle.
Step 1 - Shut the throttle
The first thing the rider needs to do when attempting a downshift on a motorcycle is to shut the throttle. This is key to ensuring a smooth downshift.
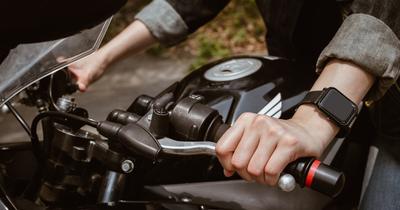
Step 2 - Apply the brakes
Right after you shut off the throttle on your motorcycle, you will need to apply the brakes. One mistake that many beginners make during this step is that they don't keep applying the brakes during the process, which will make it harder to downshift on any motorcycle. To make sure that doesn't happen and that your downshift is successful, it is important to keep applying the brakes throughout the downshift process. When applying the brakes, you should always keep your fingers arched and only use the tips so that you do not apply too much of the brake, which will have the opposite effect.
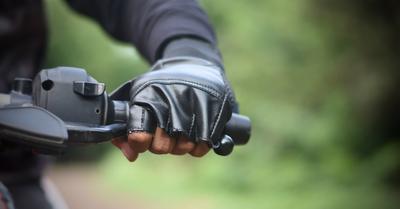
Step 3 - Pull in the clutch
Another common mistake that new riders make while attempting to downshift on a motorcycle is that they forget to pull in the clutch. As any experienced rider will tell you, this step is key to carrying out a downshift on a motorcycle. So to make sure you get it right, pull in the clutch while applying the brakes.
Step 4 - Select a lower gear with your foot
Now that you've left the throttle and have pulled in the clutch while applying the brakes, all you have to do is use your foot to select a lower gear.
Step 5 - Blip the throttle
This is the trickiest part of downshifting a motorcycle, and is one step that many beginners tend to get wrong the first time around. To blip the throttle basically means to open then close the throttle, and make sure that it is extremely short, but measured in order to get the desired results. To be fair, this can be a tricky process for many riders, but with the right amount of patience and practice, you should be able to master this step of the downshift in no time. When you are revving the throttle, it is important to keep your fingers arched so that you do not release or add any brake pressure during this process.
Step 6 - Let the Clutch Level Out
Once you blip the throttle during the downshift, you will need to let the clutch level out. This means disengaging and engaging the clutch plates. The best motorcycle riders who downshift learn to master this friction point to get that smooth downshift on a motorcycle. The key here is to think of your left hand as the slipper clutch.
While this process can seem a bit complicated at first, with the right practice letting the clutch lever out will soon become second nature when it comes to downshifting on a motorcycle. Also, when practicing this technique, it is advised to only use two of your fingers on the clutch lever. The trick here is to find the friction point in the clutch, which may vary depending on the type of motorcycle you are riding. It is also important for new riders to note that you do not have to apply too much pressure and that the lever does not have to go all the way back to release the plates.
Many new riders do not know this, but this friction can be reached with a relatively low pressure applied to the clutch. At the end of the day, it is important to note that it's not how much pressure is applied to the clutch or whether you use two fingers or not; it is the technique that you use to engage and disengage those clutch plates for a smoother downshift that matters.
Step 7 - Keep Braking
This might seem like a lot of work until now, but you aren't done yet. Any experienced biker will tell you that when it comes to a successful downshift, it is crucial to keep braking throughout the process or at least until you are satisfied with the entry speed.
While they may seem like a lot of steps to master to pull off an otherwise simple-looking maneuver on the motorcycle, only by mastering all of the above steps will you be able to successfully pull off the downshift on a motorcycle.